CBE Workflow: Plan → Generate → Clean → Layout → Publish (5 Steps)
CBE’s 5-Step Sequential Workflow Guide (From Planning to Publishing)
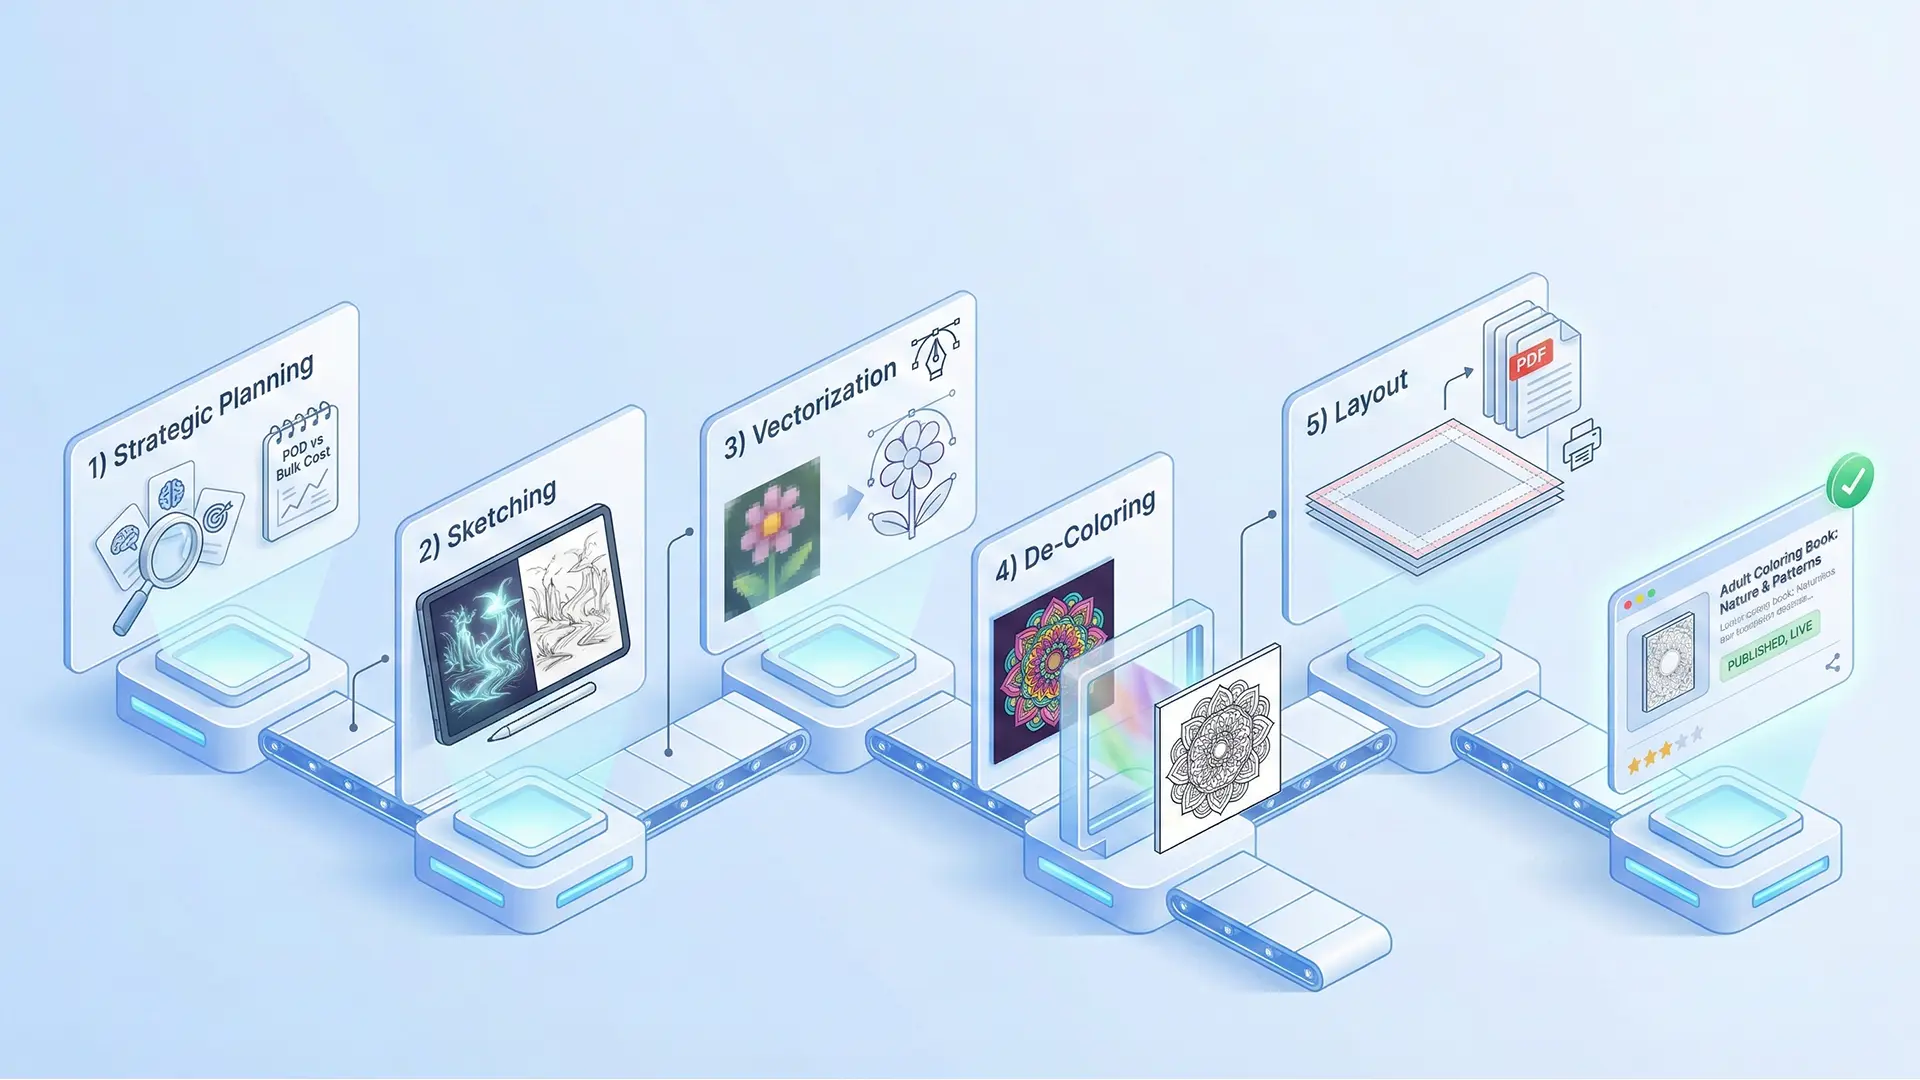
CBE 5-step workflow hero illustration
Shipping a coloring book series shouldn’t be a chaotic mix of random files and manual fixes. By following the Coloring Book Engine (CBE) sequential workflow—Plan, Generate, Clean, Layout, and Publish—you can transform raw ideas into KDP-ready PDFs with repeatable precision.
1.0 Step 1: Plan (Niche & Specs)
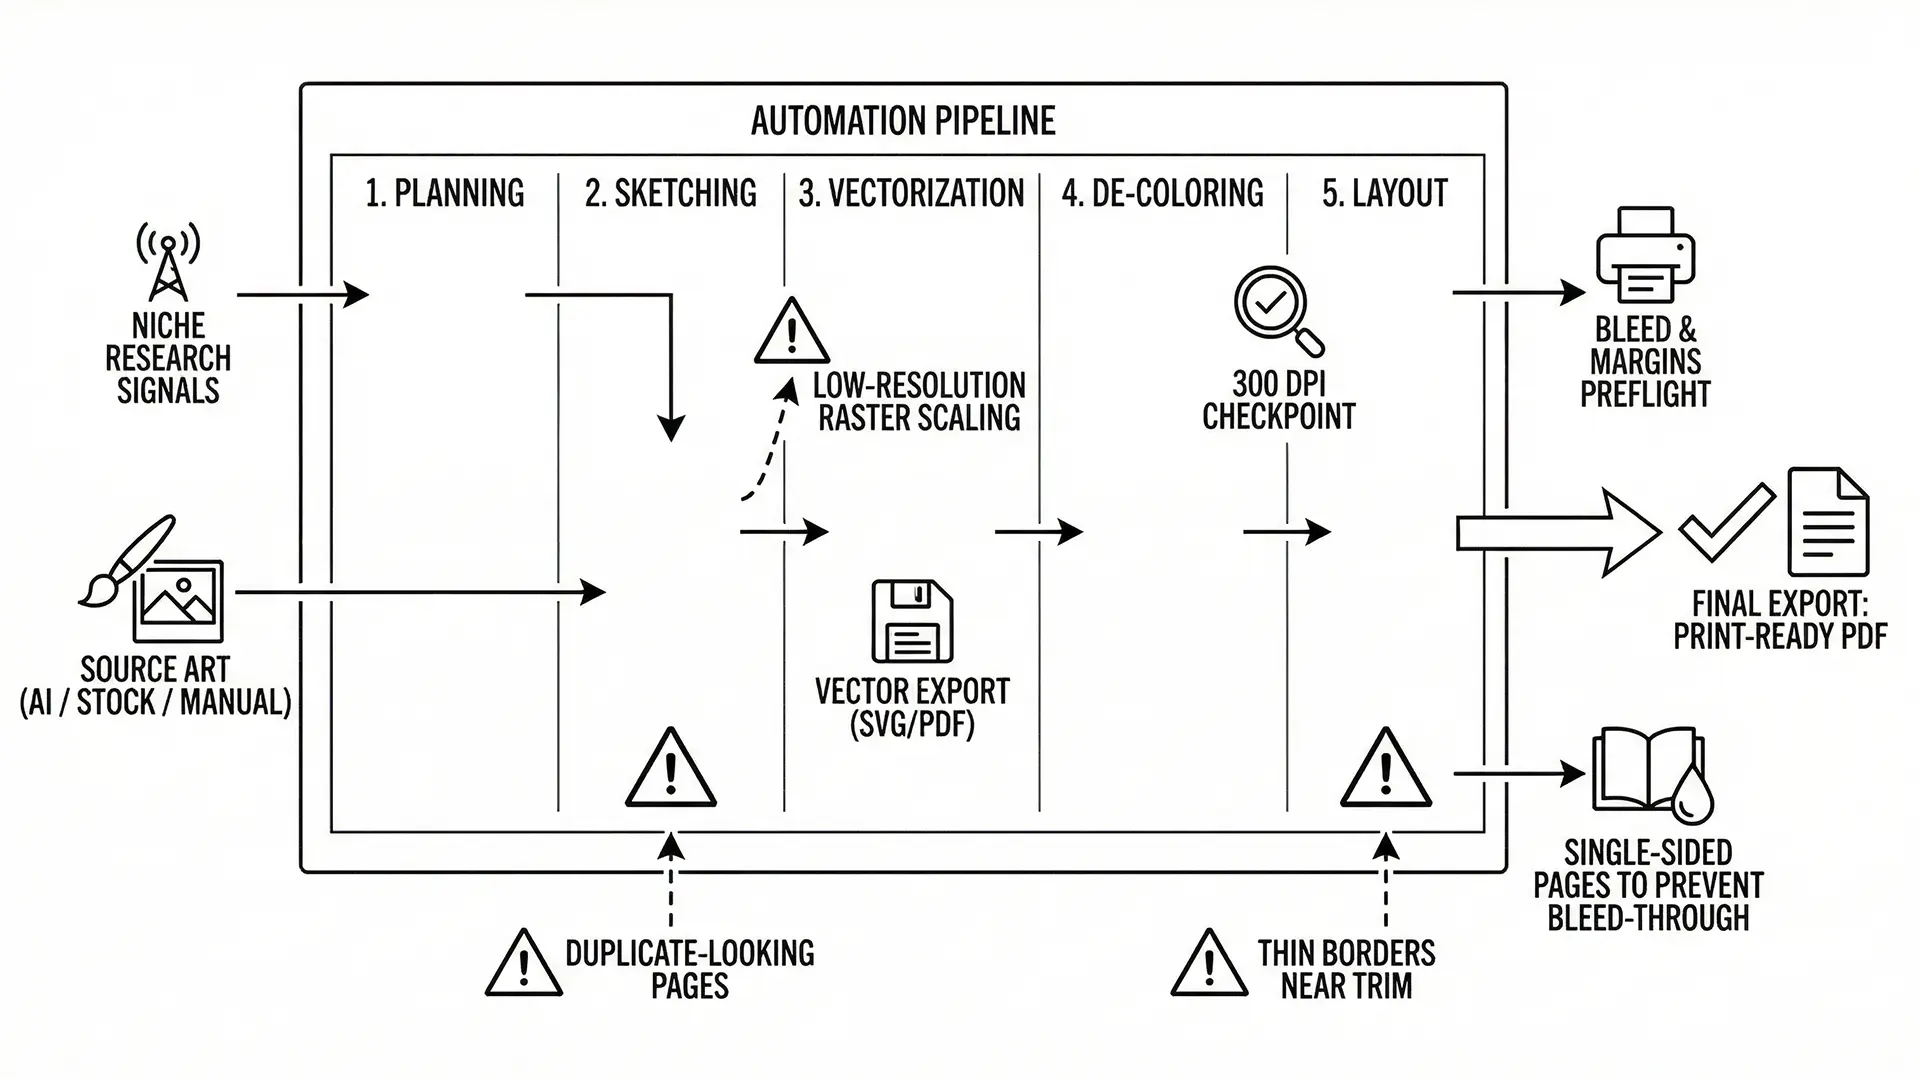
Before generating a single pixel, you must define the physical constraints of your book. CBE requires you to set these parameters upfront to ensure all subsequent automation works correctly.
- Niche Selection: Identify a high-demand, low-competition niche (e.g., “Mandala for Seniors” or “Cute Animals for Kids”).
- Trim Size: Decide between standard 8.5” x 11” or square 8.5” x 8.5”.
- Bleed Settings: We recommend enabling Bleed (adding 0.125” margins) to allow full-page illustrations.
Why this matters: Changing dimensions halfway through a project destroys your layout. Lock this in first.
2.0 Step 2: Generate (Bulk Creation)
CBE is designed for scale. Instead of prompting one-by-one, use the bulk generation features to create a cohesive collection.
- Prompt Engineering: Use consistent style descriptors (e.g., “thick bold lines,” “vector style,” “white background”) to maintain visual unity across 50+ pages.
- Batch Processing: Generate 10-20 variations per concept, then curate the best ones. Don’t fall in love with the first output; aim for volume, then filter for quality.
3.0 Step 3: Clean (Automated Refinement)
Raw AI output is rarely print-ready. It often contains “fuzzy lines” or gray anti-aliasing that looks amateurish in print.
CBE workflow diagram: Plan to Publish pipeline
- Upscaling: Convert 72 DPI web images to 300 DPI print resolution.
- Thresholding: Apply automated thresholding to convert gray pixels to pure black (#000000) or pure white (#FFFFFF).
- Artifact Removal: Automatically remove stray pixel noise to ensure a clean coloring experience.
4.0 Step 4: Layout (Page Assembly)
Once your assets are clean, CBE helps you assemble them into a book structure.
- Single-Sided Arrangement: To prevent marker bleed-through, CBE automatically inserts a blank page (or a pattern page) after every illustration.
- Safe Margins: Ensure all critical drawing elements are inside the “Live Area” so they don’t get cut off during the binding process.
- Front & Back Matter: Add your “This Book Belongs To” page and copyright disclaimer page at this stage.
5.0 Step 5: Publish (Export & Upload)
The final step is converting your project into a format Amazon KDP accepts without errors.
- PDF Export: Generate a single, flattened PDF file. CBE handles the CMYK/RGB color profiles and font embedding automatically.
- File Size Check: Ensure the final PDF is under KDP’s upload limit (usually 650MB) while maintaining high visual fidelity.
- Final Proof: Open the PDF and check specifically for “white gaps” at the edges (bleed errors) before uploading.
Conclusion
Efficiency in self-publishing comes from having a repeatable system. By sticking to this 5-step CBE loop, you stop treating each book as a new experiment and start building a scalable publishing asset pipeline.
Quick Checklist (The CBE Loop)
- Plan: Niche and Trim Size (8.5x11) defined?
- Generate: Created 40+ consistent images?
- Clean: Applied 300 DPI upscale & thresholding?
- Layout: Inserted blank pages for single-sided printing?
- Publish: Exported print-ready PDF with bleed included?